
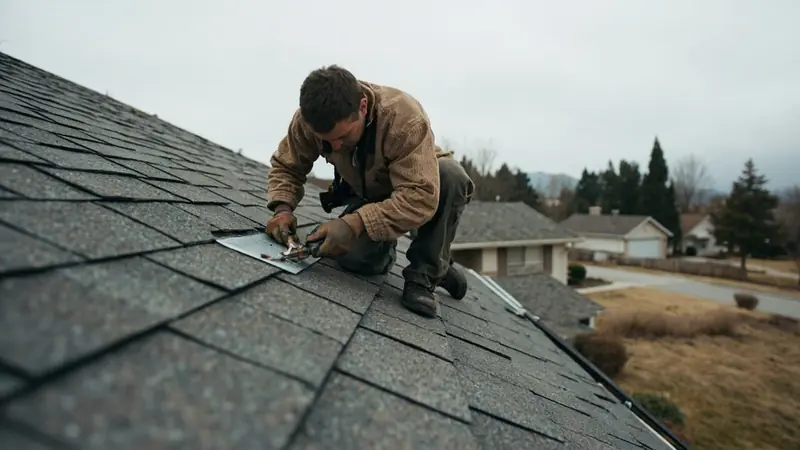
What roof leak repair fixes in Ontario homes
When your roof is leaking, roof leak repair starts by finding exactly where water enters. That entry point sits uphill of the stain almost every time, at a pipe boot, a valley, or a strip of flashing against a wall or chimney.
Get everyone out from under a dripping or sagging ceiling and keep that room clear. Put a bucket under the drip, and if the ceiling is bulging, open one small hole at the low point so the water has somewhere to go. Stay off the roof yourself, since a wet slope is not solid footing.
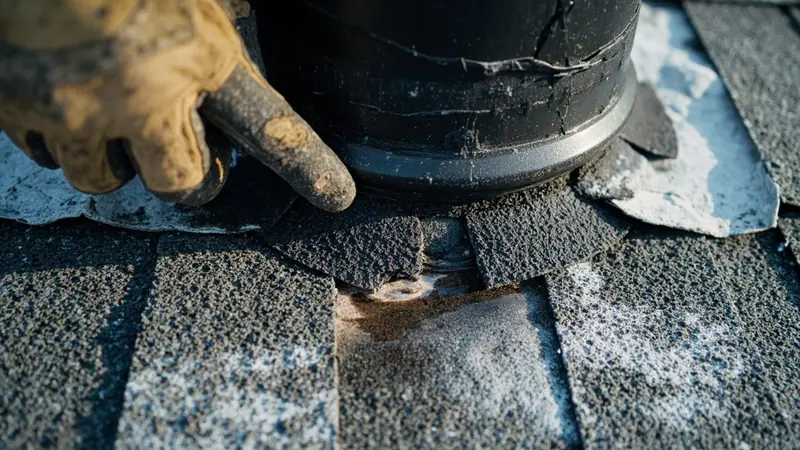
The path we see most often is a cracked pipe boot, the rubber or plastic collar that seals a vent pipe where it passes through the roof. Once that boot splits, water runs down the pipe into the attic insulation below it. The ceiling under it stains, and the framing around that penetration softens the longer it sits wet. A leaking roof vent pipe usually shows as a ring that widens after each storm rather than one dramatic flood.
Most of Ontario's rain falls in winter, when storms move in off the Pacific from the west and southwest. A boot that cracked in the summer heat can sit dry and silent for months, so a roof leaking after rain often traces to damage that has been there since before the season started.
A stain by itself is one thing. Soft or discolored wood around the vent pipe or flashing is another. Once that framing feels soft to the touch, call before the next storm arrives, because another soaking only pushes the rot further into the rafter.
Our crews work to the installation standards of the National Roofing Contractors Association.
Find the sign you have, then read across to see how soon to call.
| Symptom or first sign | What is already happening | What it becomes if ignored | When to call |
|---|---|---|---|
| A cracked pipe boot | Water runs down the vent pipe into the attic insulation | The ceiling below stains and the framing around the penetration softens | Call this week |
| A lifted shingle tab | Wind gets under the course above it | A full strip peels in the next storm and the bare deck takes the rain directly | Call this week |
| Missing kickout flashing where a roof meets a wall | Water runs behind the siding instead of onto the shingles | The wall sheathing rots with no stain on the roof at all | Call this week |
| A pinhole at a flat roof seam | Water tracks sideways between the membrane and the insulation | A wet board loses its insulating value | Call this week |
How we fix a roof leak in Ontario homes
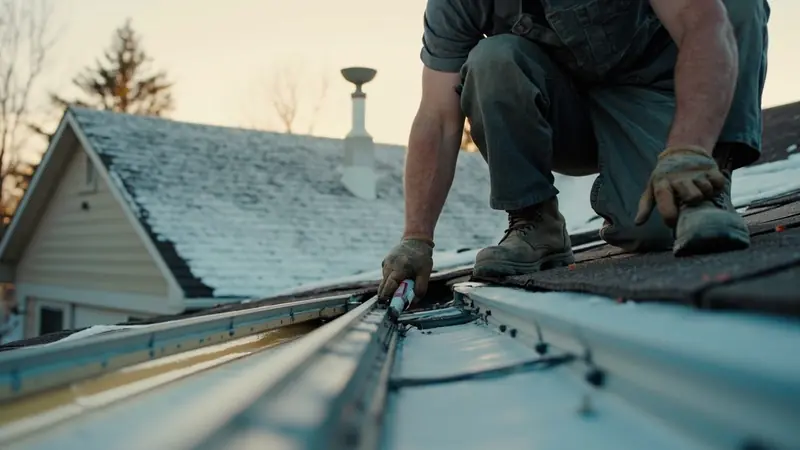
A roof leak fix starts on site, not over the phone, because what the visit finds decides whether this stays small or grows.
- We trace the stain back along the rafter to its highest point.
- We check the pipe boots, valleys, and any wall or chimney flashing uphill of that point.
- We read the decking there with a pin moisture meter.
- We check the attic for daylight, staining, or rusted nail tips near the entry point.
- We put the cause and the fix into writing before anything comes off the roof.
A reading under 15 percent means the decking at that spot is dry. The fix stays local: a new boot, a reset of the step or counterflashing, or a leaking roof valley repair where an open valley has failed. The cracked boot and the shingles immediately around it get replaced together once that reading comes back dry. A reading above 20 percent means that section is holding water, and the repair has to include cutting out the wet decking, not just sealing over it.
Where a patch has to match the surrounding field, three tab shingle (the standard one-layer type with cutouts) still matches roofs installed with it, though it carries a lower wind rating and a shorter expected service life than laminated shingle.
Ontario's Santa Ana wind events, which pick up in fall and winter, push a lot of these repairs toward laminated shingle instead, since the heavier mat holds up better under those gusts. A roof leaking around vent flashing on an older three tab roof is often where that trade off gets decided, since the boot and the shingles around it are coming off either way.
Pick the two options that fit your home, then ask which one makes sense for it.
| Option | The numbers a buyer weighs | Best suited to |
|---|---|---|
| Three tab shingle | One layer with cutouts, lighter per square | Low exposure roofs where first cost decides |
| Architectural laminated shingle | Two laminated layers that are glued together so it is heavier and thicker than three tab | Most steep slope roofs on a house |
| TPO single ply membrane | Seams are hot air welded rather than glued, white reflective surface | Low slope and commercial roofs |
| Impact rated shingle | Graded by a steel ball impact test where Class 4 is the top step | Hail country and exposed roofs |
| EPDM rubber membrane | Black rubber sheet, seams taped or glued rather than welded | Low slope and commercial roofs |
Steps in a roof leak repair visit
Finding the leak
We start at the stain and trace it uphill along the rafters to find where water enters, not just where it shows below. That means checking the attic for daylight, staining, or rusted nail tips near the pipe boots and valleys, then reading the decking there with a pin moisture meter. You see where the water line sits and what the meter reads at that spot. Once the entry point is confirmed, we name the cause out loud, whether that's a split boot, an open valley, or a flashing gap, and put the fix into writing before any shingle comes up.
Approving the repair
You see the written quote for the repair before anything gets touched. Once you approve it, the area around the fault gets cleared first: old sealant or the cracked boot material comes off, and any wet decking underneath gets cut out. New flashing, boot, or valley material goes in next, tied back into the surrounding shingles so the patch sheds water the same way the rest of the roof does. If the fix reaches a section with mismatched or aging shingles, that gets pointed out before it's closed in.
Checking the fix
Before the visit ends, the decking around the repair gets read again with the pin moisture meter, and it needs to come back under 15 percent. We show you that reading next to the one taken at the start, along with the old boot or flashing piece that came out. If the attic still shows staining higher up the rafter than the repair reached, that gets pointed out too, since it means another spot needs a look.
What roof leak repair needs in Ontario homes
Most roof leak repair work that opens up decking or adds new flashing needs a permit, and the City of Ontario Building Department reviews that kind of job.
Sealing over a cracked boot with roofing cement instead of replacing it holds through one dry season, then opens again the first time a Pacific storm drives rain from the west. A leaking roof repair that resets old step flashing at a wall intersection instead of replacing it lets the same gap reopen once that old sealant dries out under summer heat. A roof flashing repair at a chimney or wall needs new material tied back into the shingles above it, not just a bead of sealant along the old edge.
Soffit and fascia repair becomes its own concern when water running down a vent pipe reaches the eave and softens the wood there instead of stopping at the attic floor. Catching that before the fascia itself has to come off is part of why the attic gets checked first.
Not sure what you are seeing? Our page on roof leaks around chimney explains the signs.
What the job looks like once you call
What decides today or later
On the call, we ask when the stain or drip started and whether water is still coming through right now. Active water during or right after a storm points toward getting someone out the same day. A stain that stopped spreading weeks back usually fits a scheduled visit just as well. Either way, the visit itself is where the entry point gets found, so the phone call is about timing.
What gets opened up
Reaching a leak usually means pulling back attic insulation near the suspect vent pipe or valley, and sometimes lifting a few shingles or tiles around it. Clear furniture or stored items from directly under the stain before we arrive. Insulation gets moved aside to reach the decking underneath it, and it goes back into place once the repair is sealed and checked.
What sets the job size
The biggest factor is whether flashing, boots, and ventilation get replaced with the repair or reused as they are. Reusing existing flashing keeps the job smaller, but it carries forward whatever already let water through once. New boots, counterflashing, and a corrected ridge vent balance add work, but they close off the paths that caused this leak in the first place. You'll receive a written estimate and sign off on it before we remove anything from the roof.
What you see on site
We show you the stain's path back to its source, usually a vent pipe, a valley, or wall flashing, before any shingle comes up. You see the moisture meter reading at that spot and the options it supports. Nothing on the roof gets opened or replaced until you say go ahead, and any decking that comes out wet gets set aside so you can see it yourself.
Roof Leak Repair Questions From Ontario Homeowners
Clear the room under the drip and set a bucket to catch water. If the ceiling bulges, open one small hole at the low point so water has somewhere to go instead of spreading across the drywall. Note when the stain started and whether it is still growing, since that detail helps decide how soon someone needs to look at the entry point above it. Call and describe what you see.
A roof that was already compromised by a cracked boot or failing flashing will leak in heavy rain, but a sound roof should not. Wind driven rain finds any gap at a pipe boot, valley, or wall flashing that summer heat already weakened, so storms expose damage that was sitting dry and hidden for months. A sound roof with intact flashing and boots should handle a storm without a new stain appearing. If one does appear, that points to a specific failed point.
A minor leak is one where the decking under the stain reads dry on a pin moisture meter. The reading comes back under 15 percent, so the fix stays local to a boot, a section of flashing, or an open valley, and the surrounding wood has not softened yet. Once a reading comes back above 20 percent, that section is holding water and counts as more than minor, since the repair has to go further than sealing the surface. The reading at the spot is what separates the two.
Fixing a leak without full replacement means tracing the stain to its entry point and replacing only that section. The entry point is usually a pipe boot, valley, or flashing, and the shingles immediately around it come out too. This works when the decking there reads dry, under 15 percent on a pin moisture meter. If the reading comes back above 20 percent, that spot needs more than a patch, but the rest of the roof can stay untouched. The written quote spells out which area that covers.
A leak tied to one wind direction points to a specific flashing joint or wall intersection. Wind pushes rain sideways against step flashing or counterflashing on that exposed side of the roof, forcing it past a seal that holds fine in calm rain. Noting which direction the wind was blowing when the stain appeared helps point toward the wall or vent flashing on that side before anything gets opened up.
Yes, water showing near a chimney can be entering through the wall flashing above the roofline rather than the roof flashing at its base. Step flashing and counterflashing tie into the chimney at different heights, and a gap higher up lets water run down inside the wall before it reaches the roof deck. Tracing the stain back along the rafter, not just at the roofline, is how that gets separated from a flashing failure lower down at the chimney's base.
Yes, because tile and composition shingle roofs carry water differently once the underlayment beneath them ages. On a shingle roof, a cracked boot usually shows as a widening ring under the stain fairly directly. On an older tile roof, the tile itself can stay intact while the underlayment underneath it fails, so a leak that looks like one bad boot can be that underlayment breaking down across a wider area. Checking the attic side for staining helps tell which case applies.
Why Ontario's rain season changes roof leak repair
Ontario's dry season runs long, with August highs in the mid 90s and little rain falling between storms. A cracked boot or lifted flashing can sit exposed through that entire stretch without a drop getting through, so the damage looks minor until the first real storm arrives. Many of the ranch style roofs built here from 1945 through the 1970s carry a low pitch, which gives wind driven rain more time sitting against a flashing joint than a steeper roof would allow. Homes from the 1980s and 1990s often carry tile or composition shingle over underlayment that's now aging past its working life, so a leak that looks like one bad boot can be the underlayment failing underneath it instead.
That permit review looks at the decking and the flashing detail once a section is opened, not only the finished shingles on top. A repair that uncovers wet or soft decking under a boot or valley often needs that review before new material goes down, especially where new flashing meets a wall or chimney intersection. Inspectors are checking that the repair ties back into sound wood, not just that the surface looks finished. Sequencing that review before the roof closes back in keeps the rest of the work from doubling back later.
Roof Leak Repair Across Ontario and Nearby Towns
We handle roof leak repair across Ontario and in these nearby towns.
Roofing Services Near Ontario
Need roof leak repair in Ontario? We cover the city and the nearby towns on the map. Call (909) 330-4661 to check your address.
Address:
Ontario Roofing, 4335 E Lowell St, Suite G
More Residential Roofing Services in Ontario
Clearing gutters and downspouts from a ladder on level ground is something you can handle before storm season arrives. That stops at the roof itself: walking the slope, lifting shingles, or testing a boot's seal isn't something to do standing on a wet or storm damaged surface. Tracing the actual leak path and sealing it belongs to the visit.
Know when the stain first appeared and whether it's grown since the last storm. Note which direction the wind was driving rain when it happened, since that often points at the wall or vent it came through. If you know the roof's age or the last time it was worked on, have that ready too.