
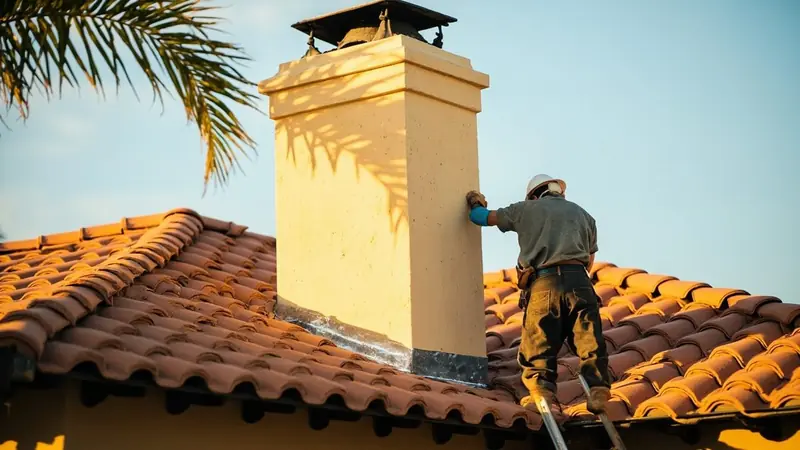
Chimney flashing repair and what it fixes
In Ontario homes, chimney flashing repair addresses the metal seal where a chimney meets the roof deck. That seal is built from step flashing woven under each shingle course against the masonry, with counter flashing lapped over it so water sheds past the joint instead of running behind it. Water stains around chimney brick, or on a ceiling below, usually trace back to that seam rather than to the cap or the shingles.
Roof leak repair covers a leak that shows up somewhere else on the roof, but a leak that hugs the chimney usually starts at the flashing. A chimney that leaked once and was simply recaulked usually leaks again at the same spot, since caulk is not a substitute for lapped metal.
The flashing fails in a specific way at a chimney set against a sidewall instead of out in the open field. Without a kickout flashing turning water off the roof edge and away from the wall, water runs behind the siding instead of onto the shingles below it. From there it tracks down inside the wall, and the sheathing behind that wall can rot with no stain ever showing on the roof itself. A chimney leaking when it rains, especially in a wind driven storm, points to that gap more often than to the cap or the mortar joints.
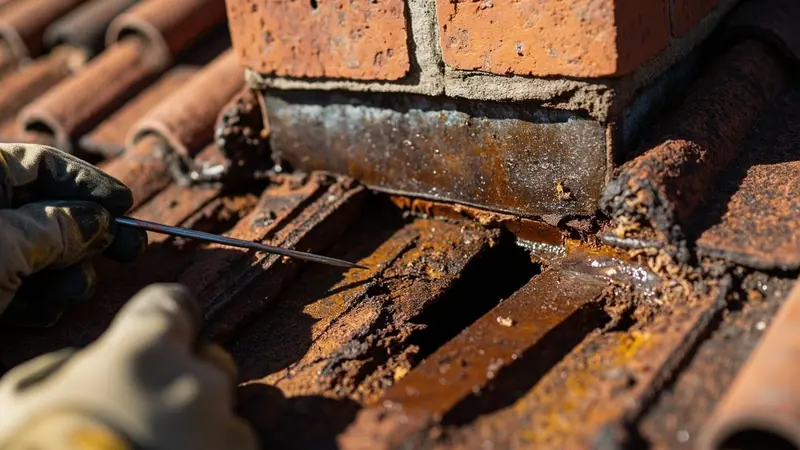
Chimney cap flashing and crown problems sometimes get blamed for the same ceiling stain, but the cap sits above the roofline entirely. This leak path starts right at the joint where the chimney meets the deck. Rusted chimney flashing is the visible stage of that failure: rust streaks on the metal, a lap pulling loose from the brick, or a gap between chimney and roof you can see daylight through.
Left alone, that gap widens with each storm and wind cycle, water starts tracking into the wall cavity behind it, and by the time a stain shows on an interior wall the sheathing behind it has likely been wet for a while. Ignoring it through another rainy season only adds to what has to be opened up to fix it. That's the point to call, before the interior stain tells you the sheathing is already affected.
For storm resilience, the IBHS FORTIFIED standard is the playbook. Several of its upgrades cost little during a re-roof.
Find the sign you have, then read across to see how soon to call.
| Symptom or first sign | What is already happening | What it becomes if ignored | When to call |
|---|---|---|---|
| A lifted shingle tab | Wind gets under the course above it | A full strip peels in the next storm and the bare deck takes the rain directly | Call this week |
| A pinhole at a flat roof seam | Water tracks sideways between the membrane and the insulation | A wet board loses its insulating value | Call this week |
| Missing kickout flashing where a roof meets a wall | Water runs behind the siding instead of onto the shingles | The wall sheathing rots with no stain on the roof at all | Call this week |
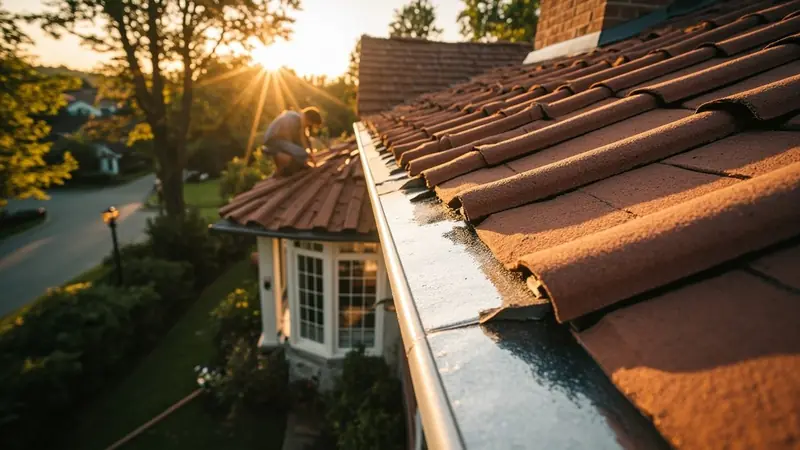
How we repair chimney flashing in Ontario
We repair chimney flashing by finding exactly where the seal opened against the masonry, then matching the fix to what's underneath it, from resealing one lap to tearing out and resetting the flashing entirely around the joint.
- We check the attic first for daylight at the chimney penetration and for rust or dark staining on the nail shanks nearby.
- We trace any ceiling or wall stain back along the rafters, since the water rarely enters straight above the mark.
- On the roof, we check the step flashing under the shingle courses and the counter flashing lapped over it.
- We check for a kickout flashing wherever the chimney meets a sidewall, since a missing one is a common cause of hidden wall damage.
- We note any flashing pulling away from the masonry, open seams at the counter flashing lap, or shingles disturbed near the joint.
Clean nail shanks and no daylight at the penetration usually mean a focused repair: resealing a lap, replacing a short run of counter flashing, or adding a kickout that was never installed. Rusted nail tips and dark staining mean moisture has been working its way in for a while, which usually means pulling the step flashing back and starting over at that joint, sometimes with chimney flashing replacement across the full base rather than one section of it.
On a masonry chimney that has settled over decades, the flashing rarely still fits tight against the brick the way it did when it was cut, so a full chimney flashing replacement usually outlasts another reseal at the same lap. On a newer stucco chase chimney built on consistent slab framing, a focused reseal at the one open lap often holds. The problem is usually a single failed seam rather than a chimney that has shifted out from under its original metal. Skylight installation and repair follows the same logic when the leak traces back to a skylight curb instead of a chimney joint.
Pick the two options that fit your home, then ask which one makes sense for it.
| Option | The numbers a buyer weighs | Best suited to |
|---|---|---|
| Impact rated shingle | Graded by a steel ball impact test where Class 4 is the top step | Hail country and exposed roofs |
| TPO single ply membrane | Seams are hot air welded rather than glued, white reflective surface | Low slope and commercial roofs |
| Architectural laminated shingle | Two laminated layers that are glued together so it is heavier and thicker than three tab | Most steep slope roofs on a house |
| EPDM rubber membrane | Black rubber sheet, seams taped or glued rather than welded | Low slope and commercial roofs |
How the chimney flashing visit runs
Finding where it opened
We start in the attic, since that's where a water path shows up before the roof does. A light held low across the sheathing finds daylight at the chimney penetration and rust rings on nearby nail shanks, and we trace any stain back along the rafters before checking the step flashing, counter flashing and kickout at that sidewall joint. That assessment covers the full chimney joint, not just the spot where the stain appears, since the leak path often runs sideways under the shingles before it shows inside. You get a plain answer on where the seal failed before we go further.
Opening and resetting the joint
You approve the quote, and we isolate that section of roofing before anything else moves. Shingles or tile near the chimney come up first, the old flashing comes off, and new step flashing, counter flashing or a kickout goes back in to match the joint it's replacing. If the decking underneath turns out to be soft once the old metal is off, we pause and show you that before any of it gets closed back up around the chimney.
Checking the seal before we leave
Before we leave, we go back into the attic with the same light: no daylight at the penetration and no fresh staining on the nail shanks means the seal is holding. We show you the finished flashing from the roof edge, and walk through which shingles or tile were reset around it and why. That closing check is the same one we opened with, just reading the other way.
What chimney flashing repair needs in Ontario homes
This kind of flashing work usually needs a permit under the California Residential Code. The City of Ontario Building Department reviews what gets pulled off and put back before it's signed off.
On a tile roof from the 1980s or 1990s, the tile has to come up around the chimney to reach the flashing underneath it. A shortcut that leaves the tile in place and runs a bead of flashing sealant around the edge looks sealed, but the sealant dries and cracks with the next hot summer, and the gap between chimney and roof opens right back up.
On newer chimneys built with a metal flue instead of masonry, the flashing boot is a single formed piece instead of layered step flashing. That boot cracks with age the same way a pipe boot does, often with nothing visible from the ground.
Flashing around chimney penetrations on an older sidewall often loses its kickout entirely during a past reroof, since a short piece of metal is easy to leave out and nobody notices until water starts tracking behind the siding. Gutter installation and repair becomes part of the job when a packed gutter at the roof edge backs water up toward the chimney base instead of off the roof. Soffit and fascia repair follows when that backed up water has already reached the eave below.
If this started as roof leaks around chimney, that page walks through the causes.
How the visit works for this repair
Today or a scheduled repair
During the call, we ask if the leak is active right now and whether the chimney took damage in a recent wind event. An active leak, or metal visibly torn loose, usually gets someone out the same day. A slow stain with no new rain, or a routine flashing check before storm season, typically goes on the schedule for the next opening. Either way, the questions are the same ones we'd ask standing in your attic.
What the repair disturbs
This job works around the chimney, not through your living space, so little inside gets disturbed. Expect a ladder against the house and foot traffic on the roof near the chimney for the length of the repair. Shrubs or patio furniture under that section of roof should be cleared beforehand. Shingles or tile tabs near the chimney come up to expose the step flashing underneath, and those get set aside and matched back in once the metal work is done.
What decides the repair size
The main driver is how cut up the roof is around the chimney, meaning valleys, dormers, skylights and other penetrations nearby. A leak at one clean joint usually means a repair at that point. A chimney boxed in by a valley on one side and a dormer on the other usually means opening more of the roof to make every lap match. Counter flashing and step flashing get replaced together when one has failed. You see the quote in writing before any of it starts, and nothing opens up without your approval.
What you see and approve
We show you the open flashing or the rusted nail shanks in the attic before any metal comes off, and point out exactly where the seal failed. You see the options: reseal, replace the flashing at that one joint, or open more of the roof if the problem runs wider than one spot. Nothing gets removed until you say go, and any old flashing or decking that comes out gets set where you can look it over yourself.
Chimney Flashing Repair Questions From Ontario Homeowners
Replacing flashing means pulling shingles or tile, removing the old step and counter flashing, then fitting new metal against the masonry. A kickout flashing gets added at any sidewall junction to turn water onto the roof instead of behind the siding. Shingles or tile get reset once the metal is checked for daylight gaps and rust, and the attic gets inspected again before the job closes.
Chimney height above the roof is set by the California Residential Code, and the City of Ontario Building Department has final say on what meets it during a permitted job. Height is not what causes most flashing leaks though. Water usually gets in at the joint where the chimney meets the roof deck, through step flashing, counter flashing, or a missing kickout at a sidewall, regardless of how tall the chimney stands above the shingles.
Sealing starts by exposing the joint, not by adding caulk or flashing sealant over what's already there. Shingles or tile come up around the chimney so step flashing can be checked where it weaves under each course, and counter flashing where it laps over against the masonry. A kickout flashing gets set at any sidewall meeting point. Rust streaks, a gap you can see daylight through, or a lap pulling off the brick all mean that section needs new metal.
Roofers handle chimney flashing repair as part of general roof work, since the flashing joint ties directly into the shingles or tile around it. The job starts with an attic check for daylight at the penetration and rust on nearby nail shanks, then moves to the roof to inspect step flashing, counter flashing, and any kickout at a sidewall. Depending on what's found, the fix ranges from resealing one lap to removing and resetting the flashing across the full chimney base.
Start by checking from the ground or a window after a storm for a new rust streak or loose metal near the chimney. That's as far as a homeowner check should go. Note when the staining started and whether it only shows up with wind from one direction before that visit happens.
The time needed depends on how much of the roof around the chimney has to open up, which comes down to whether valleys, dormers or other penetrations sit close to the joint. A single clean lap that just needs resealing or a short run of new counter flashing is a narrower job than a full reset of step flashing and counter flashing around the whole base. A soft deck found once the old metal comes off adds to what has to be opened and replaced before it closes back up.
Why older Ontario chimneys need different flashing repair
Some of Ontario's oldest chimneys stand in bungalows from the 1910s and 1920s. Those homes were framed before plywood sheathing existed, so the boards under the shingles are often planks laid with gaps between them. A chimney built into that kind of deck rarely has the flat, continuous surface that step flashing was designed to lap against, so the metal sits on an uneven plane from day one. Masonry chimneys from that era have also settled unevenly over a century, which opens small gaps between the brick and the flashing that were tight when the house was built. Stucco additions from later decades complicate the joint further, since stucco, brick and roofing meet at three different angles around the same chimney. Chimney flashing replacement on one of these homes usually means custom bending each piece on site rather than pulling a stock profile off the truck, since no two chimneys in these tracts line up the same way against the roof deck.
Any permitted flashing work gets inspected before it's covered back up, since shingles or tile hide the joint completely once they're reset. That's one reason the old flashing and the decking under it get shown to you in photos or in person at that stage. On a chimney that gets a kickout added where none existed before, that inspection point matters more, since it's a change to how the roof sheds water, not just a repaired patch. We leave that section open until it clears, which can add a short gap before the final course of shingles or tile goes back around it.
Chimney Flashing Repair Across Ontario and Nearby Towns
Chimney flashing repair calls reach us from all over the Ontario area, including these towns.
Roofing Services Near Ontario
Looking for chimney flashing repair near you in Ontario? Call (909) 330-4661 and we will confirm we cover your street.
Address:
Ontario Roofing, 4335 E Lowell St, Suite G
More Residential Roofing Services in Ontario
Looking at the chimney from the ground or a window after a storm, watching for a new rust streak or a strip of metal hanging loose, is something you can do yourself. That's where it stops. Lifting shingles or tile, pulling old flashing, and resetting step or counter flashing means working at the roof edge against masonry, and that belongs to the visit.
Have the rough age of the roof and chimney ready, along with where the water or staining shows up, inside or out. Note whether the chimney took a direct hit in a recent wind event, and whether the leak only shows up when rain comes from one direction. That narrows down the joint before anyone arrives.